Last Updated
Procedure
- In the RainTree Scheduler, select “IFSP” Appointment Type and enter in the appt details.
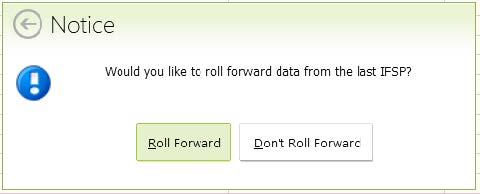
- Select Don't Roll Forward:
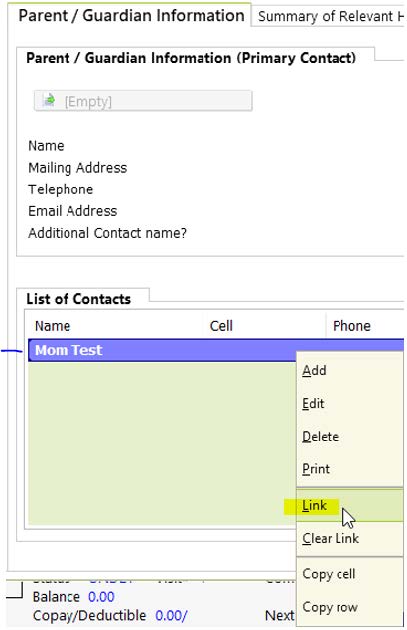
- Start by entering information in the Referral Information tab. You will see all the Contacts for the child. To link the primary participating parent or caregiver to this IFSP, Right click on the parent and then select ‘Link’:
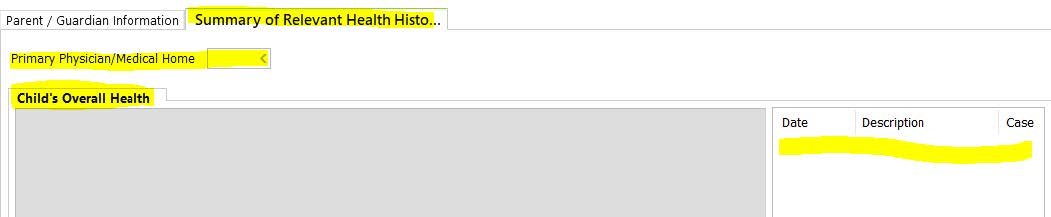
- In the Referral tab, complete the Summary of Relevant Health History tab. Two sections need to be complete (if not already completed)-- Child’s Overall Health and Pediatric Medical Health:
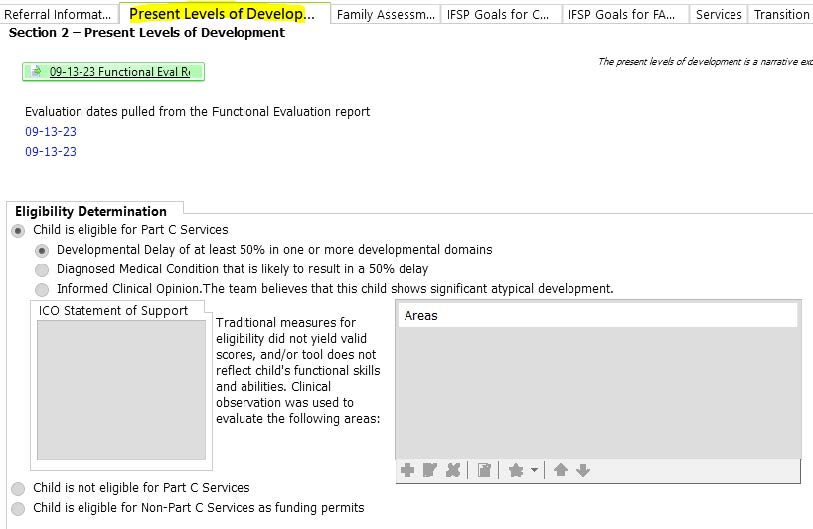
- Review ‘Present Levels of Development’ tab, this should show all information from the most recently signed Functional Evaluation, including Eligibility Determination:
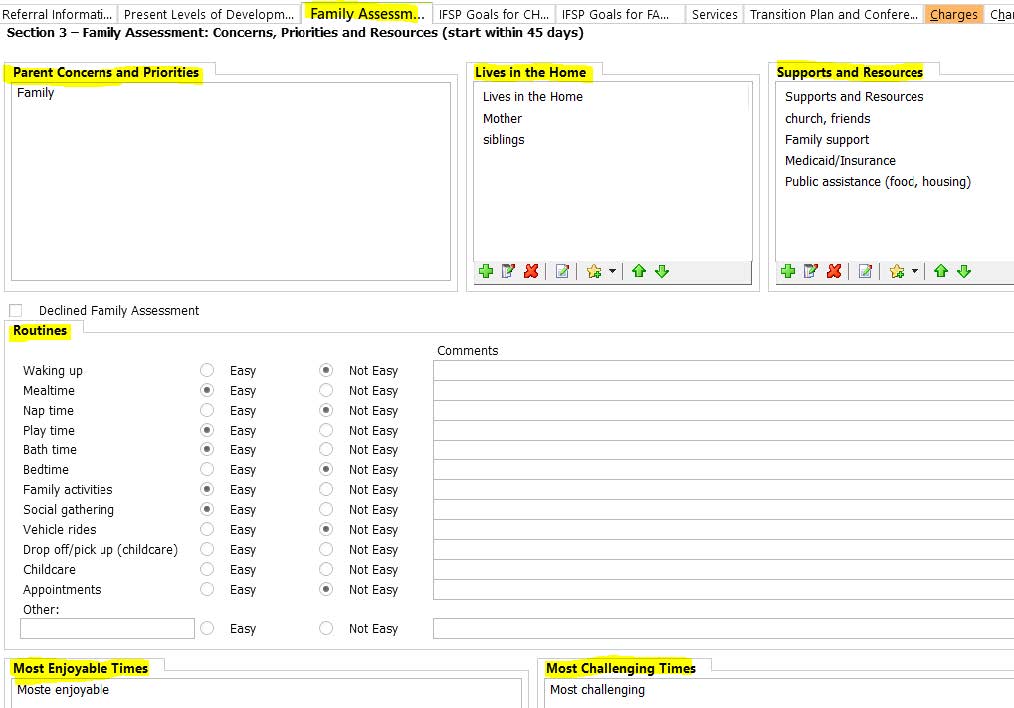
- Review and complete the ‘Family Assessment’ section, information will be pulled from the most recent Intake note.
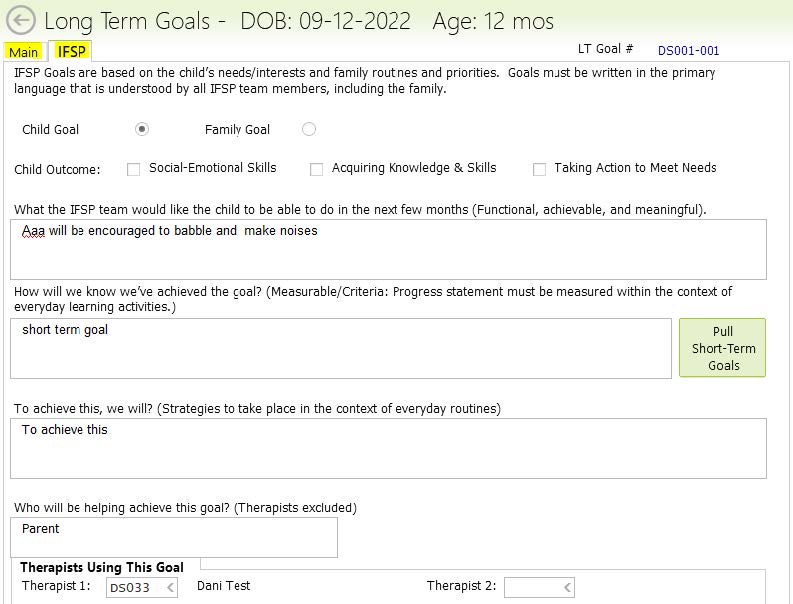
- Start adding goals in the ‘IFSP Goals for Child’ tab, please note that all Long Term Goals should be added through the IFSP.
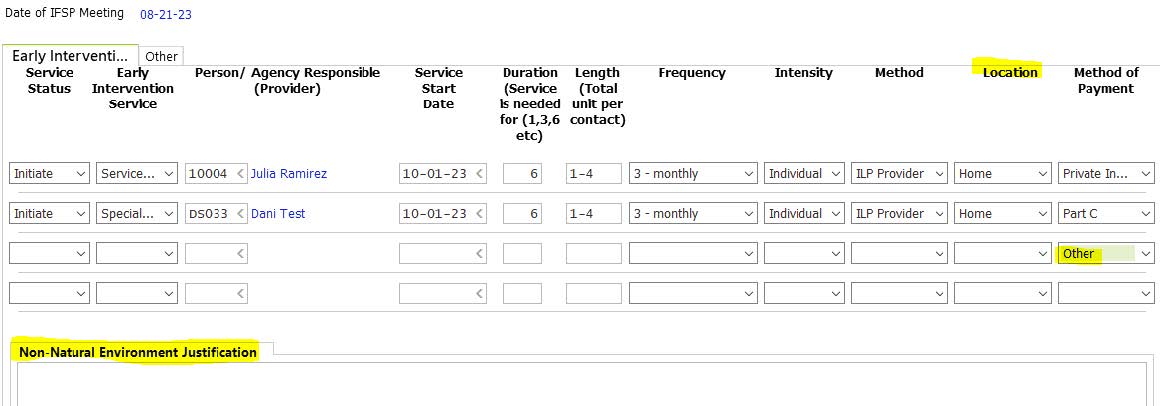
- Enter the Services that the family will receive from PIC in the ‘Services’ tab. Start dates are generally 30 days from the date of the IFSP for Primary Services. Secondary/consultation services and FSC are dated 2 months from the date of the IFSP.

- If the child is 30 months or older, the Transition Plan needs to be completed. Enter the Transition Plan Date in ‘Transition Plan and Conference’ tab. When the date of the plan is entered, all additional due dates on this page will auto populate.
There is a separate tab for the Transition Conference, and if appropriate timing: click on the Conference tab if this also was completed.
- Charges tab: enter in the IFSP begin/Time in and end/Time out clock times for IFSP Development and/or Transition Conference if completed.
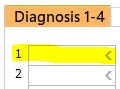
Diagnosis will automatically pull from the RainTree case, be sure to add to the case if you don’t see a Diagnosis in the box.
- Linked Records – Patient Formset: If the Signature Packet was already created and sent to the parent, click on the [Empty] bar and add the set to this IFSP. If it hasn’t been sent, use the [Empty] bar to add an IFSP Packet, then f10 to save it so that it links to this IFPS:

- When all information is entered, the family’s long term goals have been written and the IFSP Signature Packet has been linked, F10 to save and sign off the IFSP.
- The last step that is separate from the IFSP, is to create a Plan of Care for the primary physician – all goals created in the IFSP will appear in the POC. Create and sign off the POC.
Note: Selecting a non-natural environment is rare, however, there’s a section in the IFSP that is required when ‘Other’ is selected as the Location for services. Non-Natural Environment Location Justification: Note why the child is receiving services in a non-natural environment.